
Tags
Cloud, Cloud Basics, Cloud Essentials, Cloud Tools, Cloud Tutorial, Compute Cloud, Java Cloud Service, JDeveloper with Cloud, Oracle Cloud, Oracle Database Cloud, Oracle Developer Coud, Oracle Java Cloud, Oracle JCS, Storage Cloud
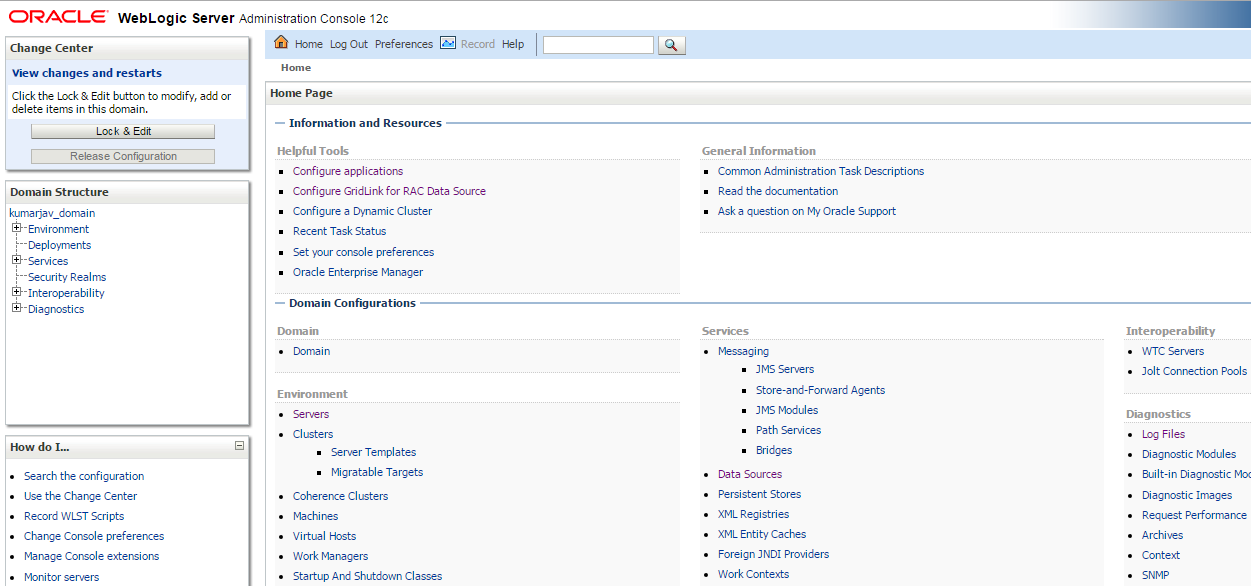
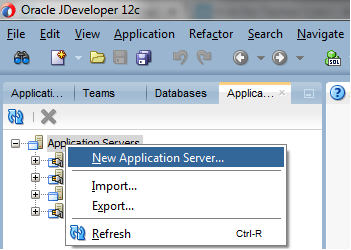
Open Weblogic Console. Click on services from left panel. Click “Datasource” under “services”
 2. Click “Lock & Edit” to enable “New” Button on the right. Cleck “New->Generic Data Source”
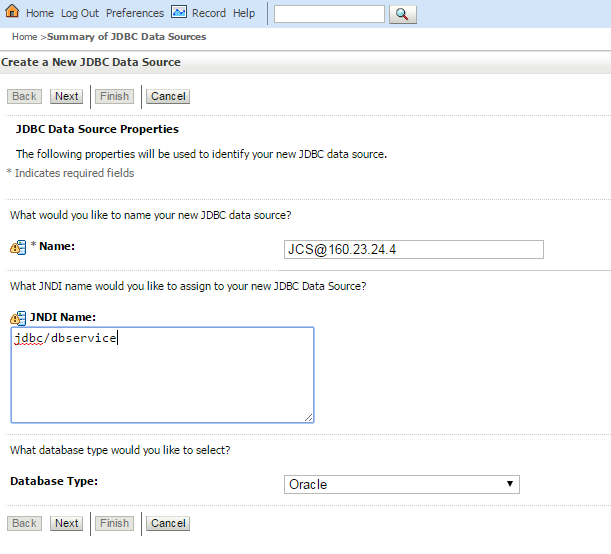
Name = it could be specified as any logical name
JNDI Name = This could be any thing (I have specified “jdbc/” and Oracle Database Cloud Service Name)
Database Type = Oracle
Click “Next”
 Database Type = Oracle
Database Driver = As specified above. You can choose these setting based on your DB and driver.
On next screen, “Simply click “Next”. It will open below screen,

Database Name = It is ORCL unless you have changed while creating database Cloud Service Instance.
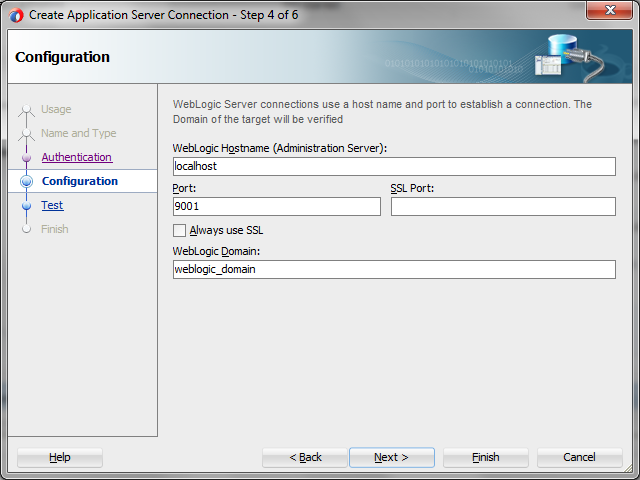
Host Name = Enter your Database Cloud Service name
Port = 1521
Database User name = SYS as SYSDBA. Enter whatever user name you have specified for Database Cloud Service.
Password = Password for the connection which was specified while DBaaS creation.
Click “Next”
On the next page, Click “Test Configuration”. it should be success.
Click “Finish”.
Now refer this data source from your application and have fun!


